Overview To Growing Your Own Food
Why grow food?
One of the first things that separated man from beast was the invention of agriculture. No longer did prehistoric humans have to forage for their food, they could simply raise it near their homes. As time went on, people selected for plants that produced more yield and that tasted richer.
Now, we have access to fruits, vegetables, herbs, and spices from all around the world – but these are oftentimes expensive and don’t taste quite right due to shipping techniques and the time delay between harvest and table.
You want inexpensive and fresh produce. The next logical step is to embody your early man and bring the food to you. No longer will you forage for your food at the supermarket – you shall bring it into your domain, raise it, and harvest it yourself.
Growing your own food isn’t just a way to claim dominance over nature and shape it to your whim, it’s a way to save money and live a healthier life. You also benefit from the added aesthetic that a garden or potted plants bring to any living space. Lastly, it’s worth noting the sense of pride and accomplishment that stems from taking care of living beings.
That being said, entering the realm of gardening can be daunting. Maybe you think yourself inept in being able to keep the most rudimentary of houseplants alive, or perhaps looking at a rack of seeds covering 20 different types of tomatoes is overwhelming, but this here guide should be more than enough to set you on the right track. Growing your own food isn’t dependent on having a green thumb; it’s a function of simply learning what plants need and how to give it to them. In return they will liven up your home, nourish you, and cut a chunk out of your grocery bill each month.
Just to give you a fair warning: you may find yourself addicted to gardening after you harvest the first round of fruits or vegetables you grow yourself. So without further ado we present our tricks and tips to help you get started with growing vegetables for beginners!
In This Guide
- What can you grow?
- Low maintenance plants
- Leafy Greens
- Potatoes
- Tomatoes
- Green Beans
- Peppers (Bell Peppers)
- Getting Started
- Should I Grow Indoors or Outdoors?
- From Seed or Sapling
- Indoor Growing
- Beginner
- Moderate
- Advanced
- Outdoor Growing
- Beginner
- Moderate
- Advanced
- Outdoor Above-ground Garden
- Automating As Much As Possible
- Light
- Warmth
- Water
- Food
- How to care for your plants
- Water
- Soil Conditions
- Fertiliser
- Pruning
- Consistency
What can you grow?
One of humanity’s greatest skills is their ability to make their environment conform to their will. If you are willing to spend the time and money to create the perfect environment for your plants, you can grow just about anything. Some plants are more delicate or particular than others, but all are found somewhere in nature – which means recreating their home environment is possible with the right know-how.
Low maintenance plants
Plants that are considered low maintenance are ones that can withstand a variety of environmental conditions while still producing fruits, vegetables, herbs, and spices. Here are a few high-return plants with minimal work on your part.
An important thing to note: the information for the plants listed below addresses groups of plants. Each species of plant has its own variations to the information that affect the care necessary for it to produce its maximum amount of food.
This info should be enough to get you started, and most plants have basic care instructions on their tags, however the best way to optimise your setup to grow plants is to practice and learn from both your successes and your failures.
Leafy Greens
The foundation for a fresh salad is one of the easiest things to grow and has the added benefit of incredibly short development time.

- Sunlight: Leafy greens need 4 hours minimum per day; however, more sun (up to 8 hours) generally results in greater yield.
- Water: Make sure the soil around them never dries out. Soil should drain well and always be kept damp.
- Temperature: Ideal range is 8-18°C, but they can handle one or two light frosts
- Soil Conditions: Keep pH between 6 and 7 (slightly acidic). Soil should be well fertilised and drain easily.
- Growing Time: 1-3 months depending on the type
- When to Start: If outdoors, start a couple of weeks before the last frost.
- How to start: Plant seeds approximately 1 cm deep and 30 cm apart
- When to Harvest: Just before the plant reaches full size. Greens tend to become tougher and bitterer when they are mature, so harvest them before they reach that point.
- How to Harvest: For most species you can remove the outer leaves as the plant grows. The plant will continue you grow despite the lost leaves and you can increase your overall harvest this way. Once you have harvested all the viable leaves and the plant stops producing more, cut it out of the ground. New lettuce will need to be planted every year.
- Special Notes: Use a slow release fertiliser that is high in nitrogen to help your plants grow rapidly. The trick is to keep growing conditions consistent throughout the season.
Potatoes
Chances are you already have everything you need to start growing potatoes already in your pantry. These tubers are nutritionally rich and a great staple for any meal.
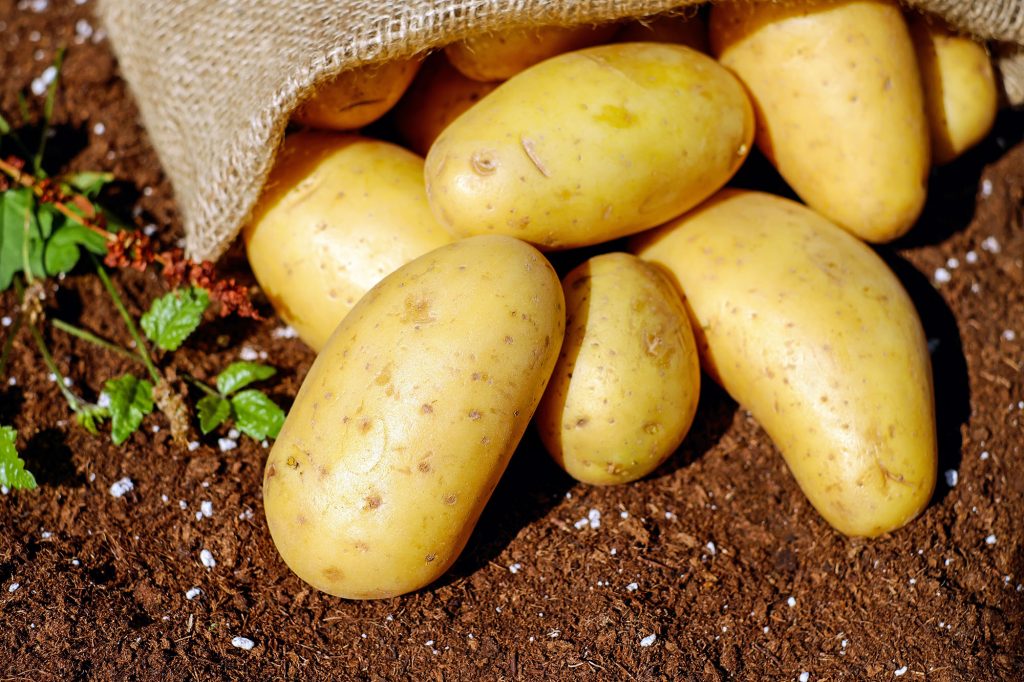
- Sunlight: The aboveground part of the plant grows best with at least 8 hours of sun a day, but make sure that the tuber is fully protected from the sun.
- Water: Keep the soil moist at all times without letting water stand. Too much water can cause the tuber to rot.
- Soil conditions: Soil pH needs to be kept below 5.2 for potatoes to flourish. The soil should also be loose and have good drainage.
- Temperature: 7 – 13°C
- Growing Time: 3 months
- When to Start: You can plant starting 2 weeks after last frost and up to June.
- How to Start: Cut a potato up into chunks that are a couple of centimetres in each dimension. Each chunk should have a couple of eyes on it; extra points if the eyes are beginning to bud. Plant the chunks 10 cm deep with the cut faces down.
- When to Harvest: Small tender potatoes can be harvested a couple of weeks after the plant has stopped flowering. For fully mature potatoes, wait until the plant has died and wait a couple of weeks to dig them up.
- How to Harvest: Gently dig up the potato and separate it from any remaining plant structure. Store in a cool and slightly humid place.
- Special Notes: One way to encourage potato growth is to pile soil up around the base of the plant as it grows, always making sure to leave 5-10 cm exposed. Once the pile is about 12 centimetres above ground level, stop adding soil. This technique is known as “hilling” and helps protect the tuber part of the plant from the sun.
Tomatoes
Tomatoes are the classic beginner garden plant. Really, what more could you ask for than a versatile, easy to grow plant that puts out literal baskets of fruit each season.
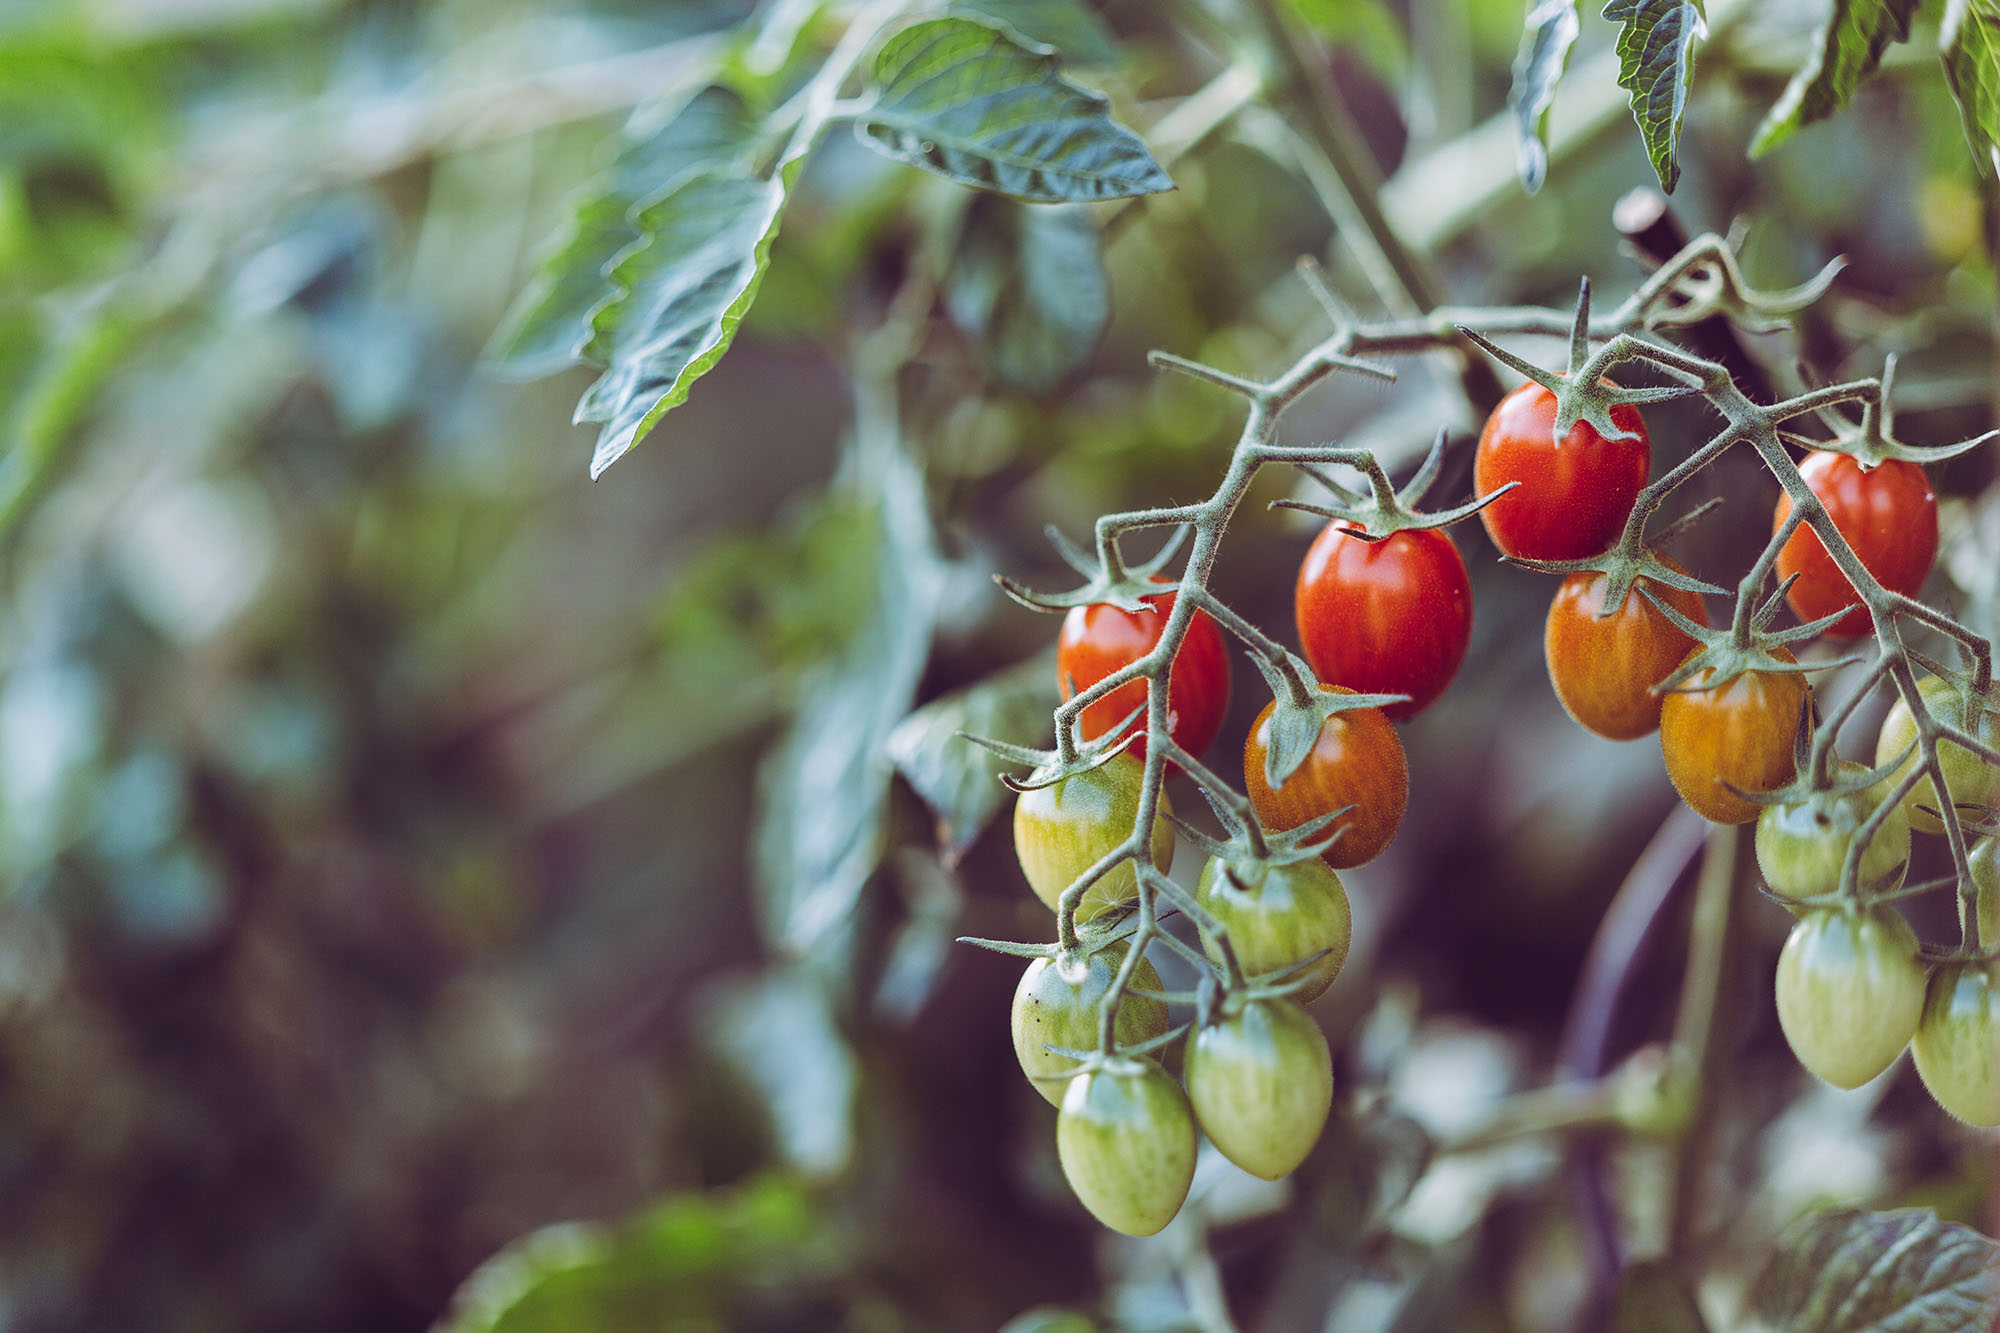
- Sunlight: Tomatoes are another full sun plant requiring at least 8 hours of sun a day.
- Water: Don’t let the soil around the plant completely dry out.
- Soil Conditions: Soil should be around a 6.5 on the pH scale and should have plenty of drainage. Keep it moist at all times.
- Temperature: 18 – 30°C
- Growing Time: 2 ½ months
- When to Start: Plant them in the late spring and early summer when soil temperatures are on the warmer side.
- How to Start: Tomato plants are easily grown from seedlings or adolescent plants. These plants are inexpensive to purchase and will usually produce several times their value in tomatoes over the course of the season. Tomato plants should have about half a meter on all sides to give them room to grow. They also need about half a meter of soil depth to develop a stable enough root system.
- When to Harvest: Tomatoes can first be harvested when they start to transition from solid green to reds, pinks, or yellows. They won’t be as flavourful at this point, but are called for in certain recipes, such as fried green tomatoes. Otherwise, wait until the tomato has lost its entire green colour but before it starts to feel soft and the skin starts to wrinkle.
- How to Harvest: Simply twist the fruit a bit as you pull it off the plant. If it is fully ripe it should come off with little effort.
- Special Notes: Tomato plants aren’t the most physically durable so placing stakes or cages for them to lean on will prevent them from breaking under the weight of their fruit or from a strong gust of wind.
Green Beans
Green beans are a massively productive plant that will grow in low nutrient environments. The hardest part of the process is getting down on your hands and knees to harvest them, but this is a small price to pay for what they have to offer.
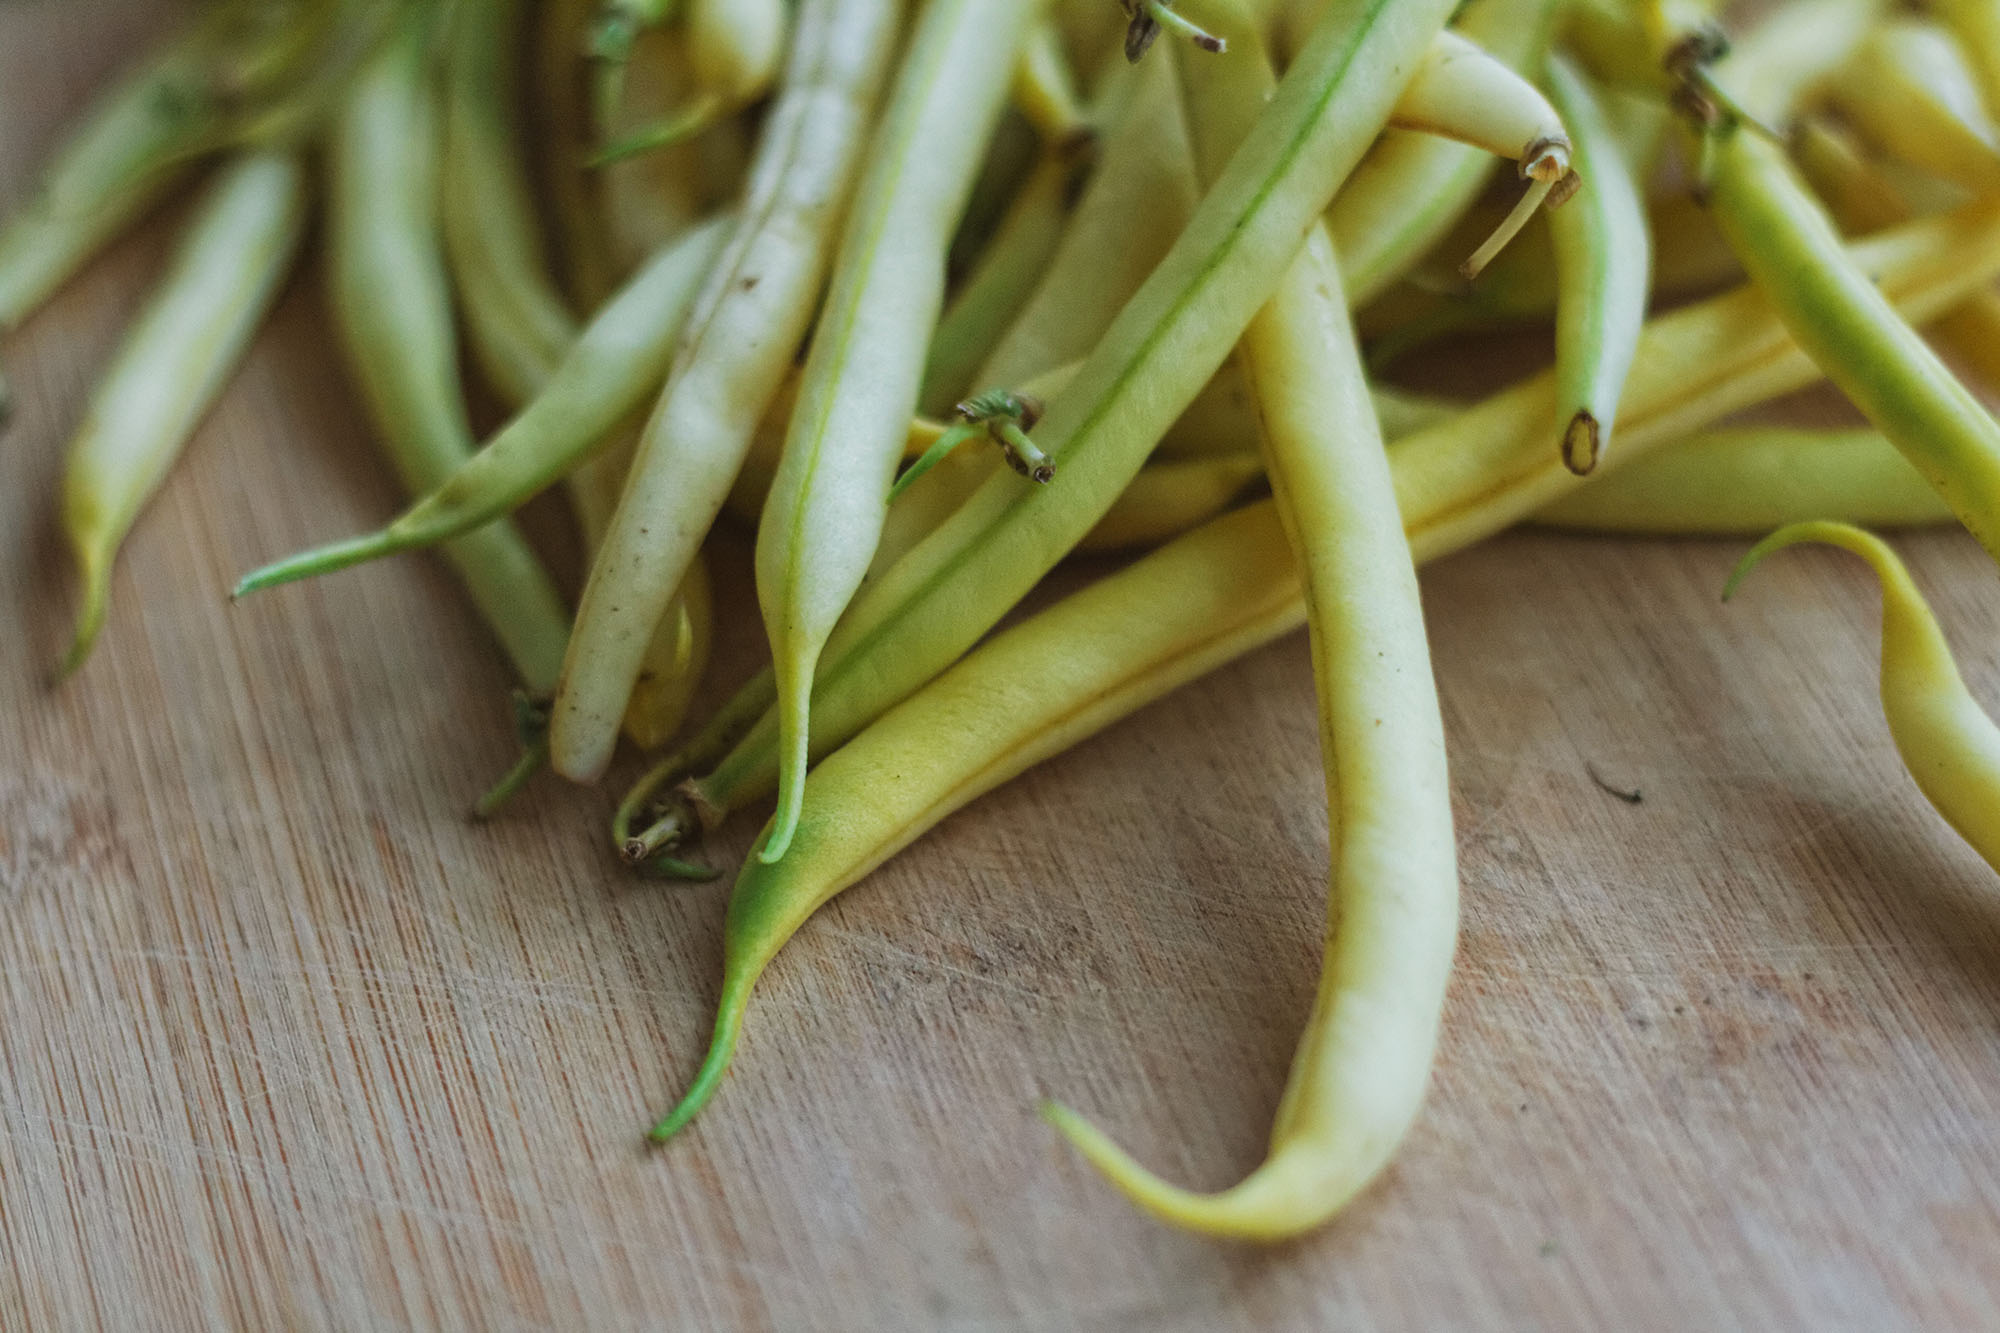
- Sunlight: 8 hours minimum
- Water: Keep soil damp, but not wet, at all times.
- Soil Conditions: Well-draining and slightly acidic soil.
- Growing Time: 2 months
- When to Start: You’ll need to wait until it’s a little warmer out and the frosts have completely passed. Start planting when it is regularly 20 °C outside.
- How to Start: Plant seeds 5 cm deep and 10 cm apart. Depending on the species, you may need to erect poles or other structures for the runners and vines to cling to.
- When to Harvest: Green beans most tender when they are still young, but they will be significantly smaller. As they grow larger the shell will become tougher and add a satisfying crunch to dishes, but wait too long and the beans will become tough.
- How to Harvest: Pluck the beans from the plant and wash shortly afterward. You can leave the plant in place as it will typically flower multiple times, but if you find that they are no longer blooming you should pull them out and plant a new crop.
- Special Notes: Using too much fertiliser on green beans will result in vibrant leafy vine, but unfortunately, few beans. A little fertiliser goes a long ways for this plant.
Peppers (Bell Peppers)
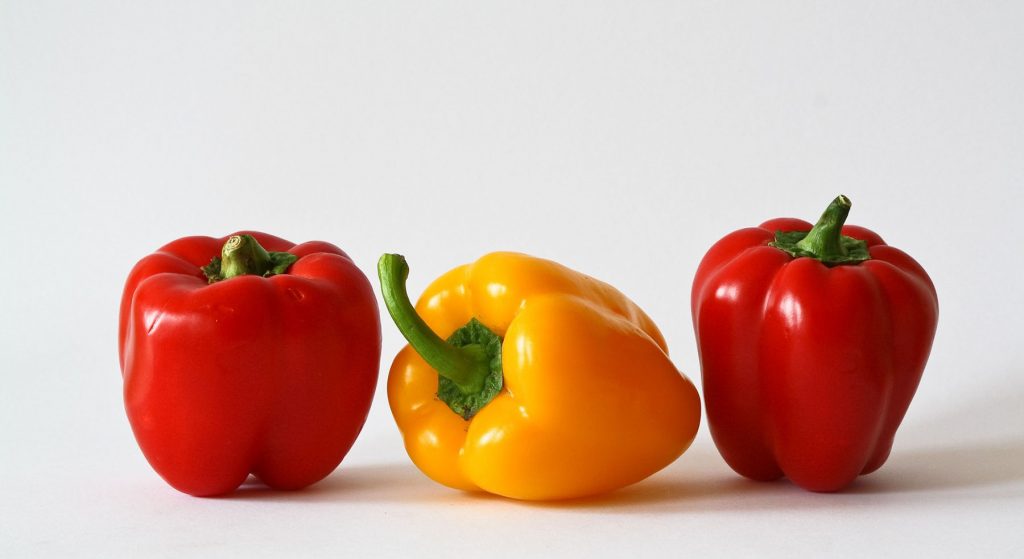
- Sunlight: 6 hours minimum
- Water: Make sure soil is always damp with no standing water.
- Soil Conditions: Well-draining soil with a bit of added Sulphur. To add Sulphur, just toss a few matchsticks into the hole when you plant the seeds.
- Growing Time: 3 months
- When to Start: Bell peppers are another warm weather plant, so plant these when it is consistently above 20°C outside.
- How to Start: Bell peppers can be started using seeds (bought or straight from other peppers), but you’ll have the best luck starting with seedlings in this case.
- When to Harvest: Peppers can be harvested at any point in the process, but they will be at their sweetest at full maturity.
- How to Harvest: Use scissors or a sharp knife to cut the peppers off of the plant. This will help keep the plant healthier and make for the opportunity of multiple blooms.
- Special Notes: If your pepper plants start to flower but seem weak as a whole. Pluck the flowers off and let it grow some more before allowing it to bloom and grow fruit.
Know that with beginner plants, you don’t have to follow their requirements precisely, but the more you do so, the better your harvest will be.
Getting Started
You ask yourself, “What plants should I grow?” In order to grow a certain one, you find you need certain soil. “How do I find out what kind of soil I have?” is the next question. “Should I grow indoors or outdoors?” “Do I get enough sunlight?” In the process of researching all your questions you end up finding a different crop that looks better, but opens up new lines of questions. Soon you find yourself falling down rabbit holes of information in forums and guides.
As you go about entering the world of gardening, start by determining what you can do, then what you want to do. For example, if you can’t grow outdoors, don’t get fixated on fruit trees. Identify your limiting factors, and use these to build your setup.
Should I Grow Indoors or Outdoors?
The choice to grow indoor or outdoor is highly dependent on the space you have available to you. If you have a larger yard or plot of land and are allowed to turn it into a food plot, as dictated by local regulations or your landlord’s rules, then you have the option to make a large outdoor garden. If you have the outdoor space, but aren’t allowed to tear it up, then consider doing a larger scale planter garden. If you want total control over your plants, or you simply don’t have anywhere outdoors to grow things, then indoor is going to be your only option. Find out what your limiting factors are and your decision on where to grow is often made for you.
Another thing to look into is local community gardens. These are public spaces that allow you to grow food if you aren’t able – or have no desire – to on your own property. These may come with a small fee, but will allow you grow your own food with less hassle while interacting with your community.
From Seed or Sapling
You have a few options when deciding on how you will get your plant started. The cheapest – and most difficult – is to use seeds. Seeds will require you to closely monitor (read multiple times a day) their growing conditions. Once they sprout you will need to keep a close eye on the light, water, and nutrients they receive until they are well established and more durable. One benefit to seeds is you can plant more than you need and weed out the ones that come out weak. This increases your odds at having one make it to maturity. Seeds are a classic example of quantity over quality.
Another option is to start with seedlings. Seedlings are basically young plants that have moved past the “sprout” stage where they are most vulnerable. These are sold in small containers and often need to be replanted fairly soon after you purchase them.
Lastly, certain plants can be started using existing parts of other plants. If you don’t want to go out and purchase plants or seeds you can always use parts or seeds from the produce you already buy. For example, you can use the seeds from your peppers, eyes from your potatoes, or the pit of an avocado. This is one of the more pragmatic options if you are looking to keep costs down as much as possible.
Indoor Growing
You can’t stand getting sunburned. You hate getting bug bites. The breeze is pungent with humidity and decay. You like the idea of gardening, but can’t get away from the fans indoors. Fear not, plants also enjoy the luxury of a climate controlled and pest free environment.
The beauty of growing indoors is twofold. One, the environment is very pleasant to work in, and two, you have full control over your plants growing conditions. This means you can make everything as perfect as possible. If a plant isn’t growing, you can easily make adjustments to help it along.
Beginner
The simplest setup for growing produce is a planter and a . This setup is a great way to get into growing your own food as it allows you to learn the basics without risking a large investment in the form of yard-space, equipment, and plants. It will also help you figure out if you enjoy taking care of plants over a long period of time. It is easy to enjoy the idea of raising plants, but when the reality of the responsibility becomes apparent it can lose its original lustre.
Moderate
If you reach the point where a few simple pots with some herbs or tomatoes aren’t enough, then it may be time to move on to a more labour intensive operation. Consider either building or investing in a fleet of planters to spread around your house and a dedicated seedling space.
A seedling space will need grow-lights on a timer and be No products found. to ensure the best growing conditions for budding plants. Plant a few seeds in each spot of a seed tray to start. Once these seedlings have taken root, move them into larger containers and place them in locations that best fit their sunlight needs.
Advanced
You have enough experience to consider yourself “green-thumbed” and are ready to take your plant indoor farm to the next level. At this point, keeping track of all of the needs of each plant can be overwhelming. To address this you can automate large aspects of the caretaking process. Lights on timers, sensors with fertiliser dispersers, and automatic watering all allow you to grow a large variety of crops without the hassle of tracking and caring for each one individually – something that is not always possible if your time is limited. Even the most automated systems still require some human interaction, but a proper setup will make it feel like you have a dozen helping hands.
Outdoor Growing
You love the sun on your skin, the dirt under your nails, and the smell of nature carried by the breeze. It feels wrong to confine plants to the indoors, and you know you can provide better lives for them in your yard. You also know that in return they will pay you back in the form of various edible additions to your diet.
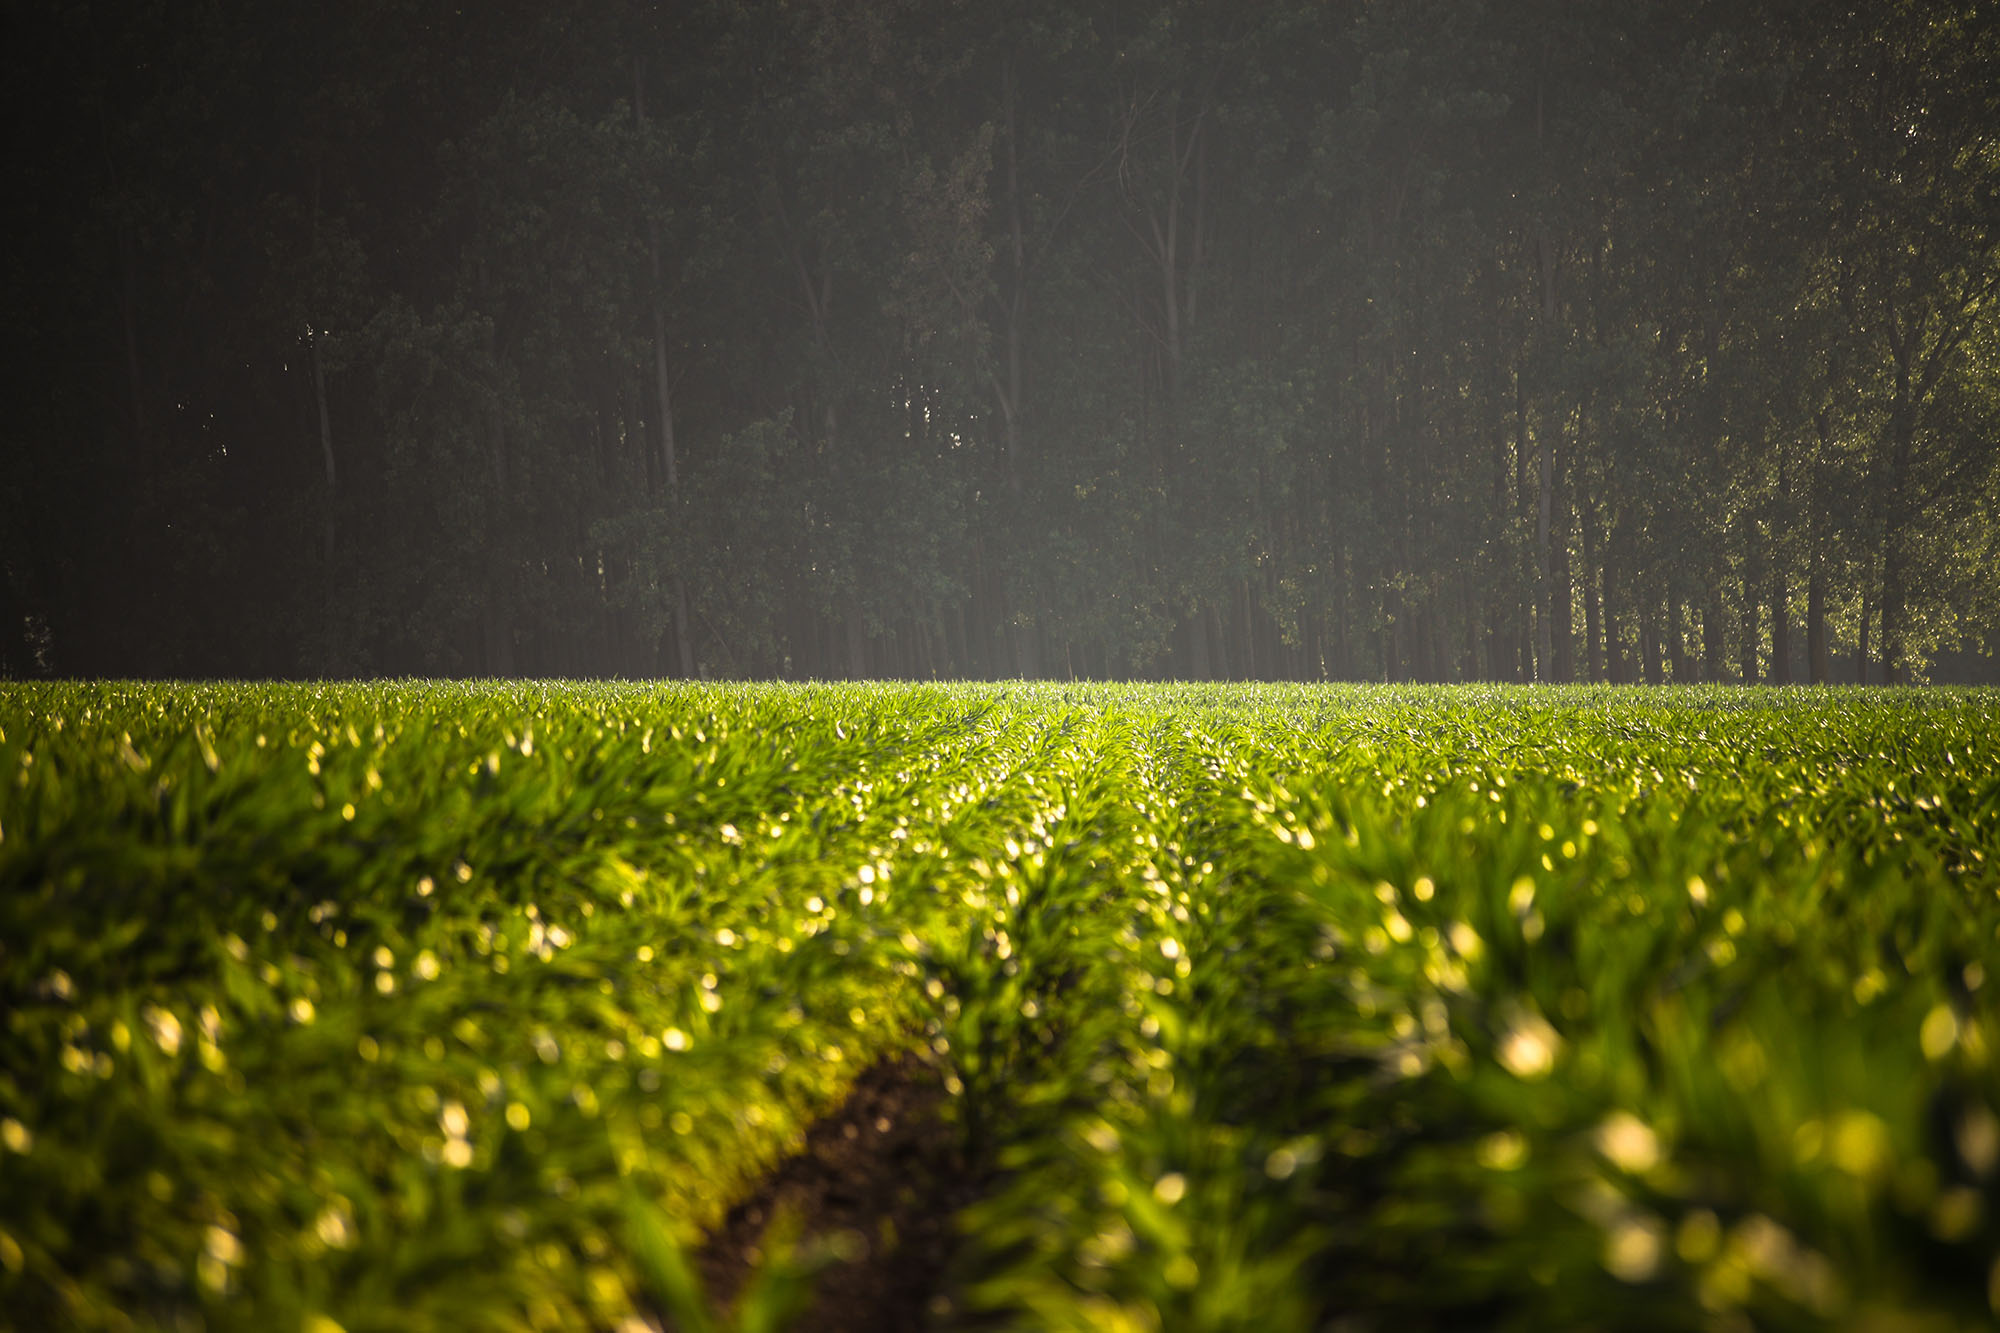
Your mother used to tell you, “Go outside! Get some fresh air!” and you find yourself longing for exactly in a world built around staying inside. Gardening gives you the perfect excuse to spend some time outside while still being productive. You do have to sacrifice a bit of control to the elements, but those same elements will often take care of chores such as watering and fertilising for you.
Beginner
A beginner outdoor setup primarily covers what types of plants you are attempting to cultivate. Certain plants are more temperamental than others and will require copious amounts of care to be productive.
Start with plants that can handle a wide variety of temperatures and conditions, have a short amount of time from planting to harvest, and are relatively inexpensive. A great first plant is lettuce as it is hardy, grows quickly, and takes up very little space. Another popular option is tomato plants as they can withstand some neglect and will oftentimes produce tomatoes throughout their entire growing season.
It’s always easier to adapt your plants to the environment than your environment to your plants. Learn what kind of soil conditions you have and what crops are native to the area, and stick to growing those. By doing so, you will only ever need to make minimal adjustments to the soil.
Moderate
As you gain more confidence in your gardening skills, look to expanding the size and variety of your garden. Research what plants grow well together under the conditions you have available and then work to make those conditions perfect for those plants. Look into plants that will also act as natural pest deterrents.
Additionally, you can start a compost bin to create your own fertiliser. This will not only save you money, but help your plants flourish while reducing your own waste production.
Advanced
One of the best gardens you can build is one consisting of raised beds. Raised-bed gardens offer stellar growing environments for plants and are easier to work with in the long run. This is at the cost of difficult initial build which places them in the “advanced” category.
Raised bed gardens appear to consist of planter boxes or pots, but with one exception. They have no bottom so the roots are not limited in spread. The raised aspect helps keep ground pests away and allows for superior drainage, especially in soil where that might be a larger issue.
Alternatively, you can always make a raised bed by piling up the dirt above ground level and planting at the peak, but this will require additional maintenance as it wears down from erosion over time. You really are better off with a bottomless box or pot.
Outdoor Above-ground Garden
You’ve researched which fruits and vegetables you want to grow, the best environment for each one, and planned out exactly where to plant each one. Only one hurdle remains: getting approval to dig in your yard. Unfortunately, your landlord isn’t as interested in being as self-sustainable as you are and denies your request to liven up their property. Fret not! You realize that you can still have the garden of your dreams with the use of extra-large planters!
Planters, or garden boxes, can allow for some of the most versatile gardens you can dream up. Gardens that consist of planters and boxes can be perfectly tailored to your needs. Each container can be filled with different crops including ones that wouldn’t be compatible in a standard garden. Also, the natural height of planters makes them easier to work with as they require less bending over and kneeling.
Each planter needs to be built with durability and long-term plant care in mind, so these planters are typically large and deep to allow each plant’s root system to grow both down and outward. A stable root system is vital for outdoor plants as it not only helps them collect water and nutrients, but provides stability in inclement weather – something indoor plants won’t ever face.
What planters you choose will depend on the plants you are trying to grow, but generally boxes with good drainage and solid materials are universally effective. Other useful features include wheels for ease of transport or ledges that allow you to sit while you weed. Another feature to consider is insulation as some plants will withstand temperature drops better than others. Good insulation will prevent plant’s roots from experiencing too sharp of temperature fluctuations and help reduce the likelihood of a cold snap decimating the crop.
Automating As Much As Possible
Your first plant was easy. All you had to do was water it a bit every other day, and sprinkle fertiliser in once a month. Once you added a few more to the family, it became a bit more of a challenge to remember the needs of each plant. One needs water every week, another daily, and one needs it every fourth day.
Each needs a different type of fertiliser at different times of the year. One likes shade, the others need as much sun as you can give them. Now you’ve practically converted your den into a greenhouse and managing each plant is more convoluted than high-level calculus.
One way to increase the ease, and even the output, of your crops is to automate the care process. Initially, this will require some ingenuity and creative engineering, but the result will be an (almost) hands-free system, that will streamline the care process of your plants.
Plants have only a few requirements to grow: sunlight, warmth, water, and food (fertiliser). The real trick is in giving them the proper amounts of each of these resources to keep them growing and producing.
Light
Light can be provided to your plants either by direct sunlight, a special grow light, or by a mixture of the two. In the case of outdoor plants, you shouldn’t need to supplement natural light with that from a grow light unless the plants are located in especially shaded places.
Each plant will have an ideal quantity of light that may even change throughout the year. Some plants actually use the length of day to know when to start producing fruit, so proper lighting is vital for food production.
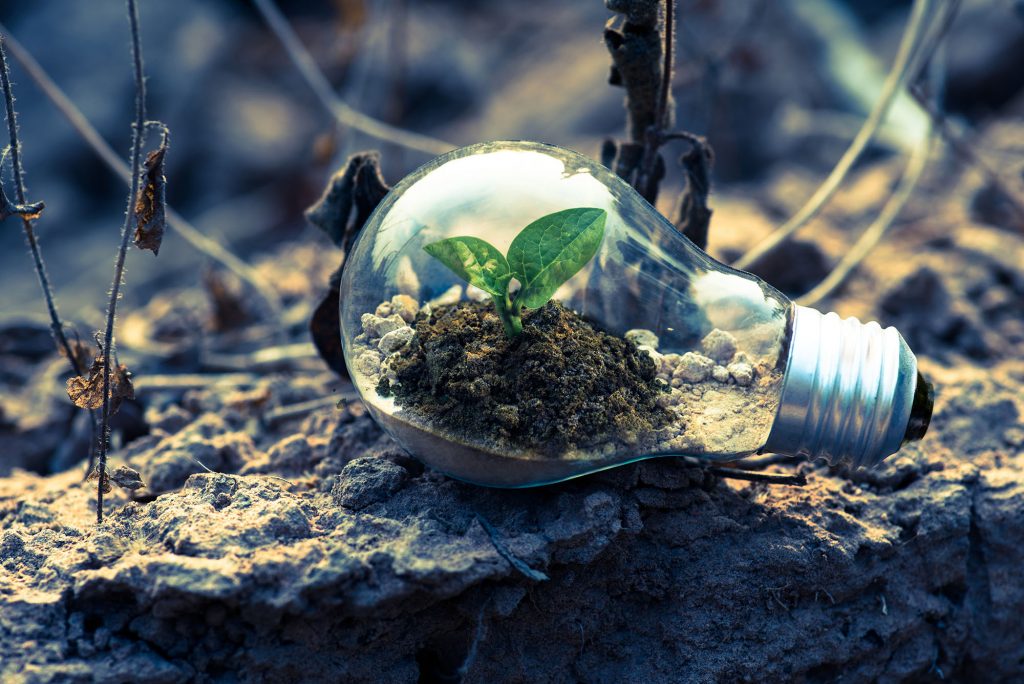
The easiest setup for automatic lighting is to simply purchase a specialised grow light with a timer. These lights produce the necessary wavelengths that are usable by plants and have built in timers that will turn them on and off at a set time each day ensuring that your plants are getting the exact amount of light they need.
For more advanced operations, a light that allows you to No products found. will give you the most versatility and precision in how you shape your plant’s environment. The spectrum of light that plants are exposed to throughout the year does change and can also have an effect on their growth, though not as much as light duration.
Warmth
Temperature fluctuations throughout the year also play a part in determining the stages of a plant’s life cycle. As temperatures fall most plants will enter a dormant phase – something necessary for their long-term health. Oppositely, a rise in temperature will often trigger a burst of growth and fruit production. Providing the correct temperature will help plants undergo an appropriate life cycle and encourage optimal food production.
While most indoor plants enjoy the same temperatures as you do, you might find that others require more heat than you want to endure. A simple heating pad placed underneath their pot can provide more than enough warmth for them while allowing you to enjoy a cooler environment. Make sure to get a pad that shuts off when a certain temperature is reached; you don’t want to bake your potatoes before they are done growing, for example.
Water
While more water may seem better, in most cases it is not. Too much watering can suffocate the plant’s roots and make them susceptible to infection, but too little can cause the plant to wither. Finding that happy medium is vital in maintaining your plants’ health.

Automatic watering comes in two forms – active and passive. Landrip DIY Automatic Watering System,Automatic Irrigation System, Holiday Plant Watering Automatic Plant Waterer for Indoor Potted Plants,Gift for Gardening Lovers [Gen 5] 1 require power and typically turn on when the soil reaches a certain level of dryness. Passive systems slowly allow water to diffuse into the soil constantly until their reservoir is empty.
Food
Feeding your plants fertiliser is one of the more difficult things to automate. Some fertiliser is purchased as a solid and is meant to be mixed into the soil when it is tilled. For the purpose of automation, this is not very practical.
The simplest way is to dissolve fertiliser into water and use an automatic water dispensing system to distribute the fertiliser. This ultimately takes care of two birds with one stone as you are watering and feeding your plant with one system.
How to care for your plants
You’re seeds have sprouted, the seedlings are stretching their leaves, and you seem to be out of the woods of their initial fragility. Now you just need to check on your crops periodically, water them, add fertiliser, but how often should you check them? When should you water them and how much should you give them? What kind of fertiliser do they need and in what quantities. The questions start piling up. How could something that just sits in the dirt appearing to do nothing require so much care?
The most important thing to do when caring for your plants is to observe them. They will tell you when conditions aren’t ideal; the rest is up to you to learn specifically what needs fixing.
Water
While each plant may need a different amount of water, a few aspects of watering generally stay the same.
Allow water to fully soak the soil. Depending on the size of your plant, and thus the depth of its root system, you may need to leave a hose on it for several hours to fully water it each time.
It is important to have soil that drains well to allow the water to reach greater depths. Soil with high clay content will cause water to pool near the surface, and when it is fully soaked it has a tendency to retain water for far too long. A mixture of sand and loose organic matter will help the soil drain easily.
The danger of overwatering is that initially the water will suffocate the plant’s roots and prevent them from absorbing other nutrients from the earth. A secondary concern is that the water will create an environment that causes the plant to be ravaged by harmful fungi or disease, or simply rot.
So if over-watering is such a concern, then how do you know how long to wait in between watering? Simply push your finger into the dirt near your plant. It should feel damp within around 5 cm of the surface. If all you feel is dry dirt, then it’s time to water.
Soil Conditions
It’s just dirt. How complicated can it be?
Soil is one of the most difficult things to correctly identify and adjust to the benefit of your plants. It determines water retention, nutrients, temperature, pH, all while providing the structural support and protection for the plant.
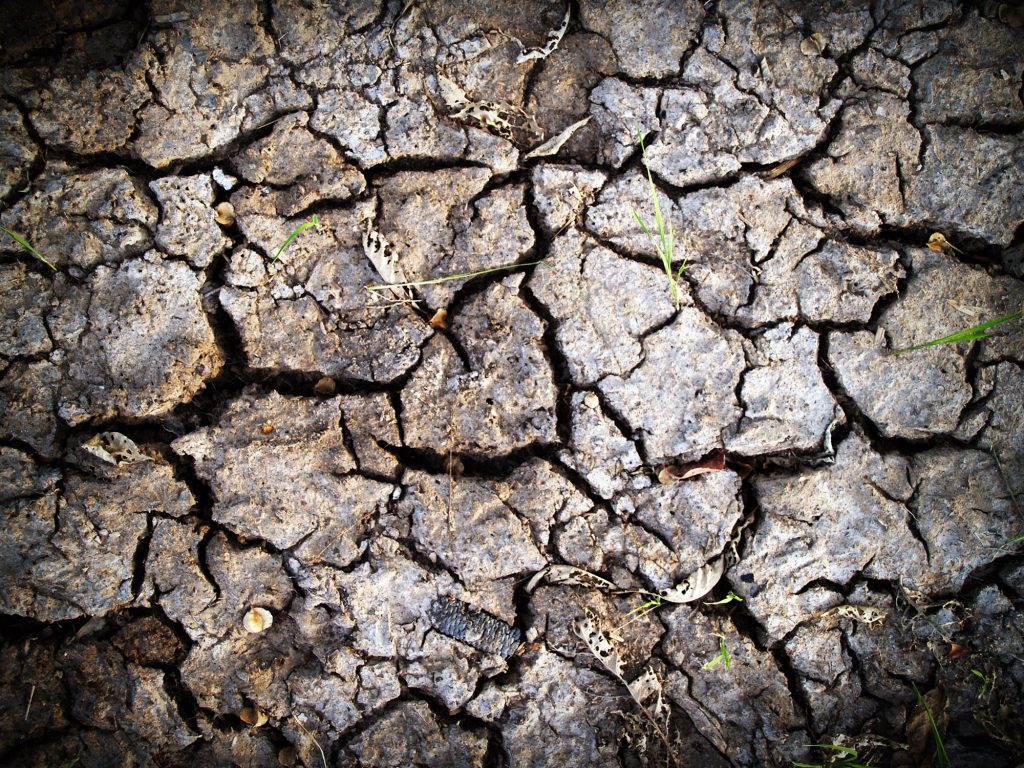
You are best off identifying and working to make the most of the soil you have at hand if you don’t want to be fighting the uphill battle of constantly adjusting it to be something else. Outdoor soil will naturally return to its original conditions as rain washes out foreign nutrients and returns local ones, as local constituents are diffused and mixed in through erosion, and as micro-flora and micro-fauna shape it to their will.
Now, if the only soil around you is devoid of nutrients and holds water like a bucket, then you may have to fight this battle regardless. Here’s what your soil needs to include in order to be viable for gardening. The same conditions apply for both potted and outdoor plants.
It’s essential for your soil to drain well (as you may have picked up by now), and this is a function of the materials in your soil. Clay, silt and peat all have a tendency to retain water, so mixing in some sand or other decomposing organic matter provides channels for the excess water to drain out of.
The next thing to consider is the pH of the soil. Most plants prefer neutral soil, which has a pH close to 7, but others need the pH to be acidic (between 6 and 7) or alkaline (between 7 and 8). Test the pH of your soil using a No products found. to isolate any adjustments you need to make. It helps to check the soil pH a few times a year to maintain a consistent environment.
If you are just looking to get an estimate of whether your soil is acidic, alkaline, or neutral you can do a simple test to get immediate results. Grab some soil from at least 10 cm below the surface and pour some vinegar on it. If it fizzes, then your soil is on the alkaline side. Repeat with baking soda on another sample; if this one fizzes your soil is acidic. If neither test causes a reaction, your soil is neutral.
Certain types of soil have natural acidic or alkaline nature, such as peat or chalky soil respectively. To adjust the pH, you have a few commercial options including various chemicals, or you can go the natural route.
If your plants of choice need a more acidic environment or you need to neutralize a basic environment, you can spread pine needles on top of the soil, mix in sphagnum peat, dump coffee grounds around the area, or dilute 250 ml of vinegar in 3 litres of water and pour the mixture into the soil.
To neutralise an acidic environment or increase the alkalinity you can add small amounts of lime to the soil, or simply use PRODUCT. Be sure to only add small amounts of either over several months; too much at once will burn the roots of the plant and potentially kill it.
Fertiliser
Without the proper nutrients, plants will cease to grow or will grow in abnormal ways. The three main macronutrients that plants use are nitrogen, phosphorus, and potassium. In the most general sense, nitrogen stimulates steam and leaf growth while phosphorous and potassium play a larger role in flowering and fruit production.
If you’ve ever seen a bag of fertiliser labelled 5-10-5 or 8-0-24, the three numbers refer to the ratio and amount of each macronutrient, with the first, second, and third numbers referring to nitrogen, phosphorous, and potassium respectively: the higher the number, the greater the concentration of that nutrient.
If you would prefer a more natural option, you can start a compost pile and add things like fruit rinds, egg shells, grass clipping, and other leftover food (except meat) and let it decompose. You will be left with a nutritionally-dense soil that you can mix in with your existing soil to help feed your plants.
A little fertiliser goes a long way. You’ll need to add it at the beginning of each growing season, but rarely more than once every month. The only time you may need to introduce it more frequently is if your soil drains too efficiently. In this situation the nutrients will have a tendency to quickly wash out.
At the end of the day, keep an eye on your plants. If you think they should be blooming, but they aren’t, add some potassium and phosphorous. If their growth seems stunted, add some nitrogen. The more you work with different kinds of plants, the more comfortable you will be in assessing their needs.
Pruning
As plants grow they consume nutrients, carbon dioxide, sunlight, and water. Even when given all these in abundance, the plant work to conserve energy and grow only what is necessary to survive and reproduce. Oftentimes this is apparent in the form of a beautiful leafy plant that doesn’t ever flower, or one that flowers while being small and weak. You can, to a certain degree, control the growth of your plant through pruning.
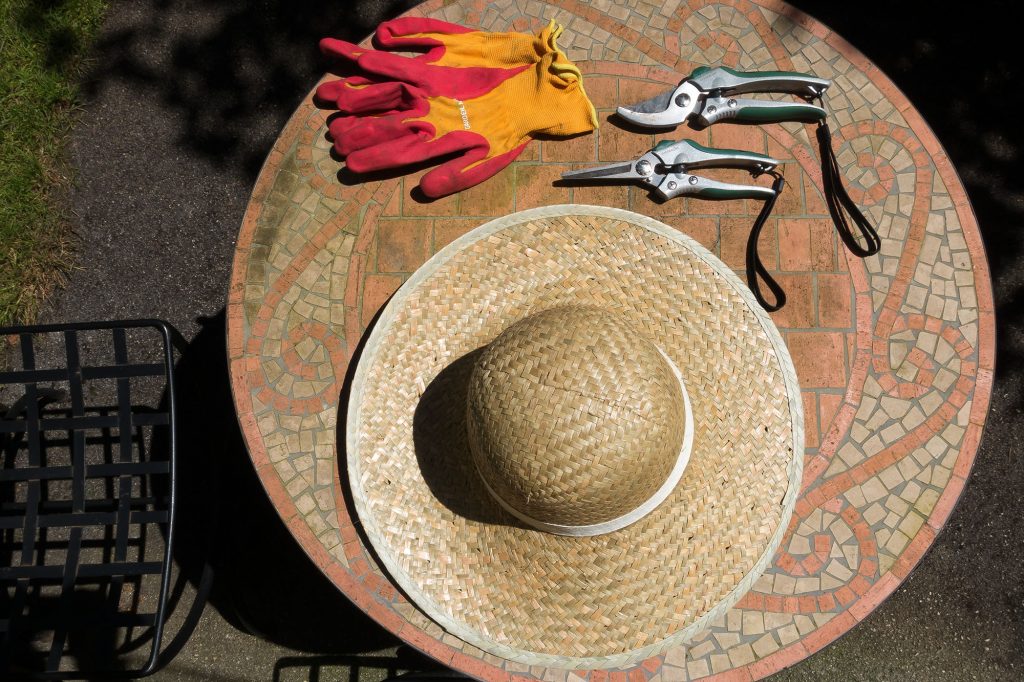
If you want your plant to grow larger in order to produce more fruit or vegetables in the long run, nip buds as they appear on the plant. The process of growing flowers and fruit is immensely resource intensive for the plant, and it will often cease to otherwise grow during the process. By removing buds as they appear, the plant is able to use the conserved energy to grow larger.
If you find that your plants have a tendency to grow long thin stems instead of filling out, you can cut a few centimetres off the end of the stem. This will force the plant to branch out more and create a more robust shape.
Consistency
Keep in mind that consistency in conditions will play as important a role as anything else in the growing process. Just like how you may hate the sudden shock of stepping into a cold shower, plants have a hard time handling sudden and radical change.
Having a meal that you not only cooked (maybe on your fire pit), but grew from scratch is one of the most empowering things you can experience. Unlike other do-it-yourself hobbies, the barriers of entry to gardening are low: it’s low cost, low skill, and low time. Just remember to start small and enjoy the process.
Last update on 2024-04-27 / Affiliate links / Images from Amazon Product Advertising API


